Raspberry Pi VPC Network Tutorial: Your IoT Cloud Guide!
Ever considered building your own cloud? Imagine a world where your IoT devices communicate securely, shielded by your own personalized network fortress, all powered by the humble Raspberry Pi. It's not science fiction; it's entirely within your reach.
Let's demystify the concept. A Raspberry Pi VPC (Virtual Private Cloud) network is, at its core, a miniature cloud infrastructure that you can construct using a Raspberry Pi. Think of it as your own private section of the internet, where your devices can interact securely and efficiently, isolated from the public internets potential threats. The beauty lies in the control you wield over your data, security protocols, and overall network architecture. It's like having your own digital kingdom, built on the affordability and versatility of a Raspberry Pi.
| Aspect | Description |
|---|---|
| Concept | Virtual Private Cloud (VPC) on a Raspberry Pi |
| Hardware | Raspberry Pi (various models suitable), Ethernet cable, Power supply |
| Software | Operating System (Raspberry Pi OS recommended), VPN software (e.g., OpenVPN, WireGuard), Network configuration tools |
| Purpose | Creating a secure and isolated network for IoT devices, personal projects, or educational purposes. |
| Security | Enhanced security through VPN encryption, firewall configuration, and network segmentation. |
| Benefits | Control over data, enhanced security, cost-effectiveness, learning opportunity. |
| Applications | Home automation, sensor networks, remote access, secure file sharing. |
| Complexity | Ranges from beginner-friendly setups to advanced configurations requiring networking expertise. |
| Reference | Raspberry Pi Official Website |
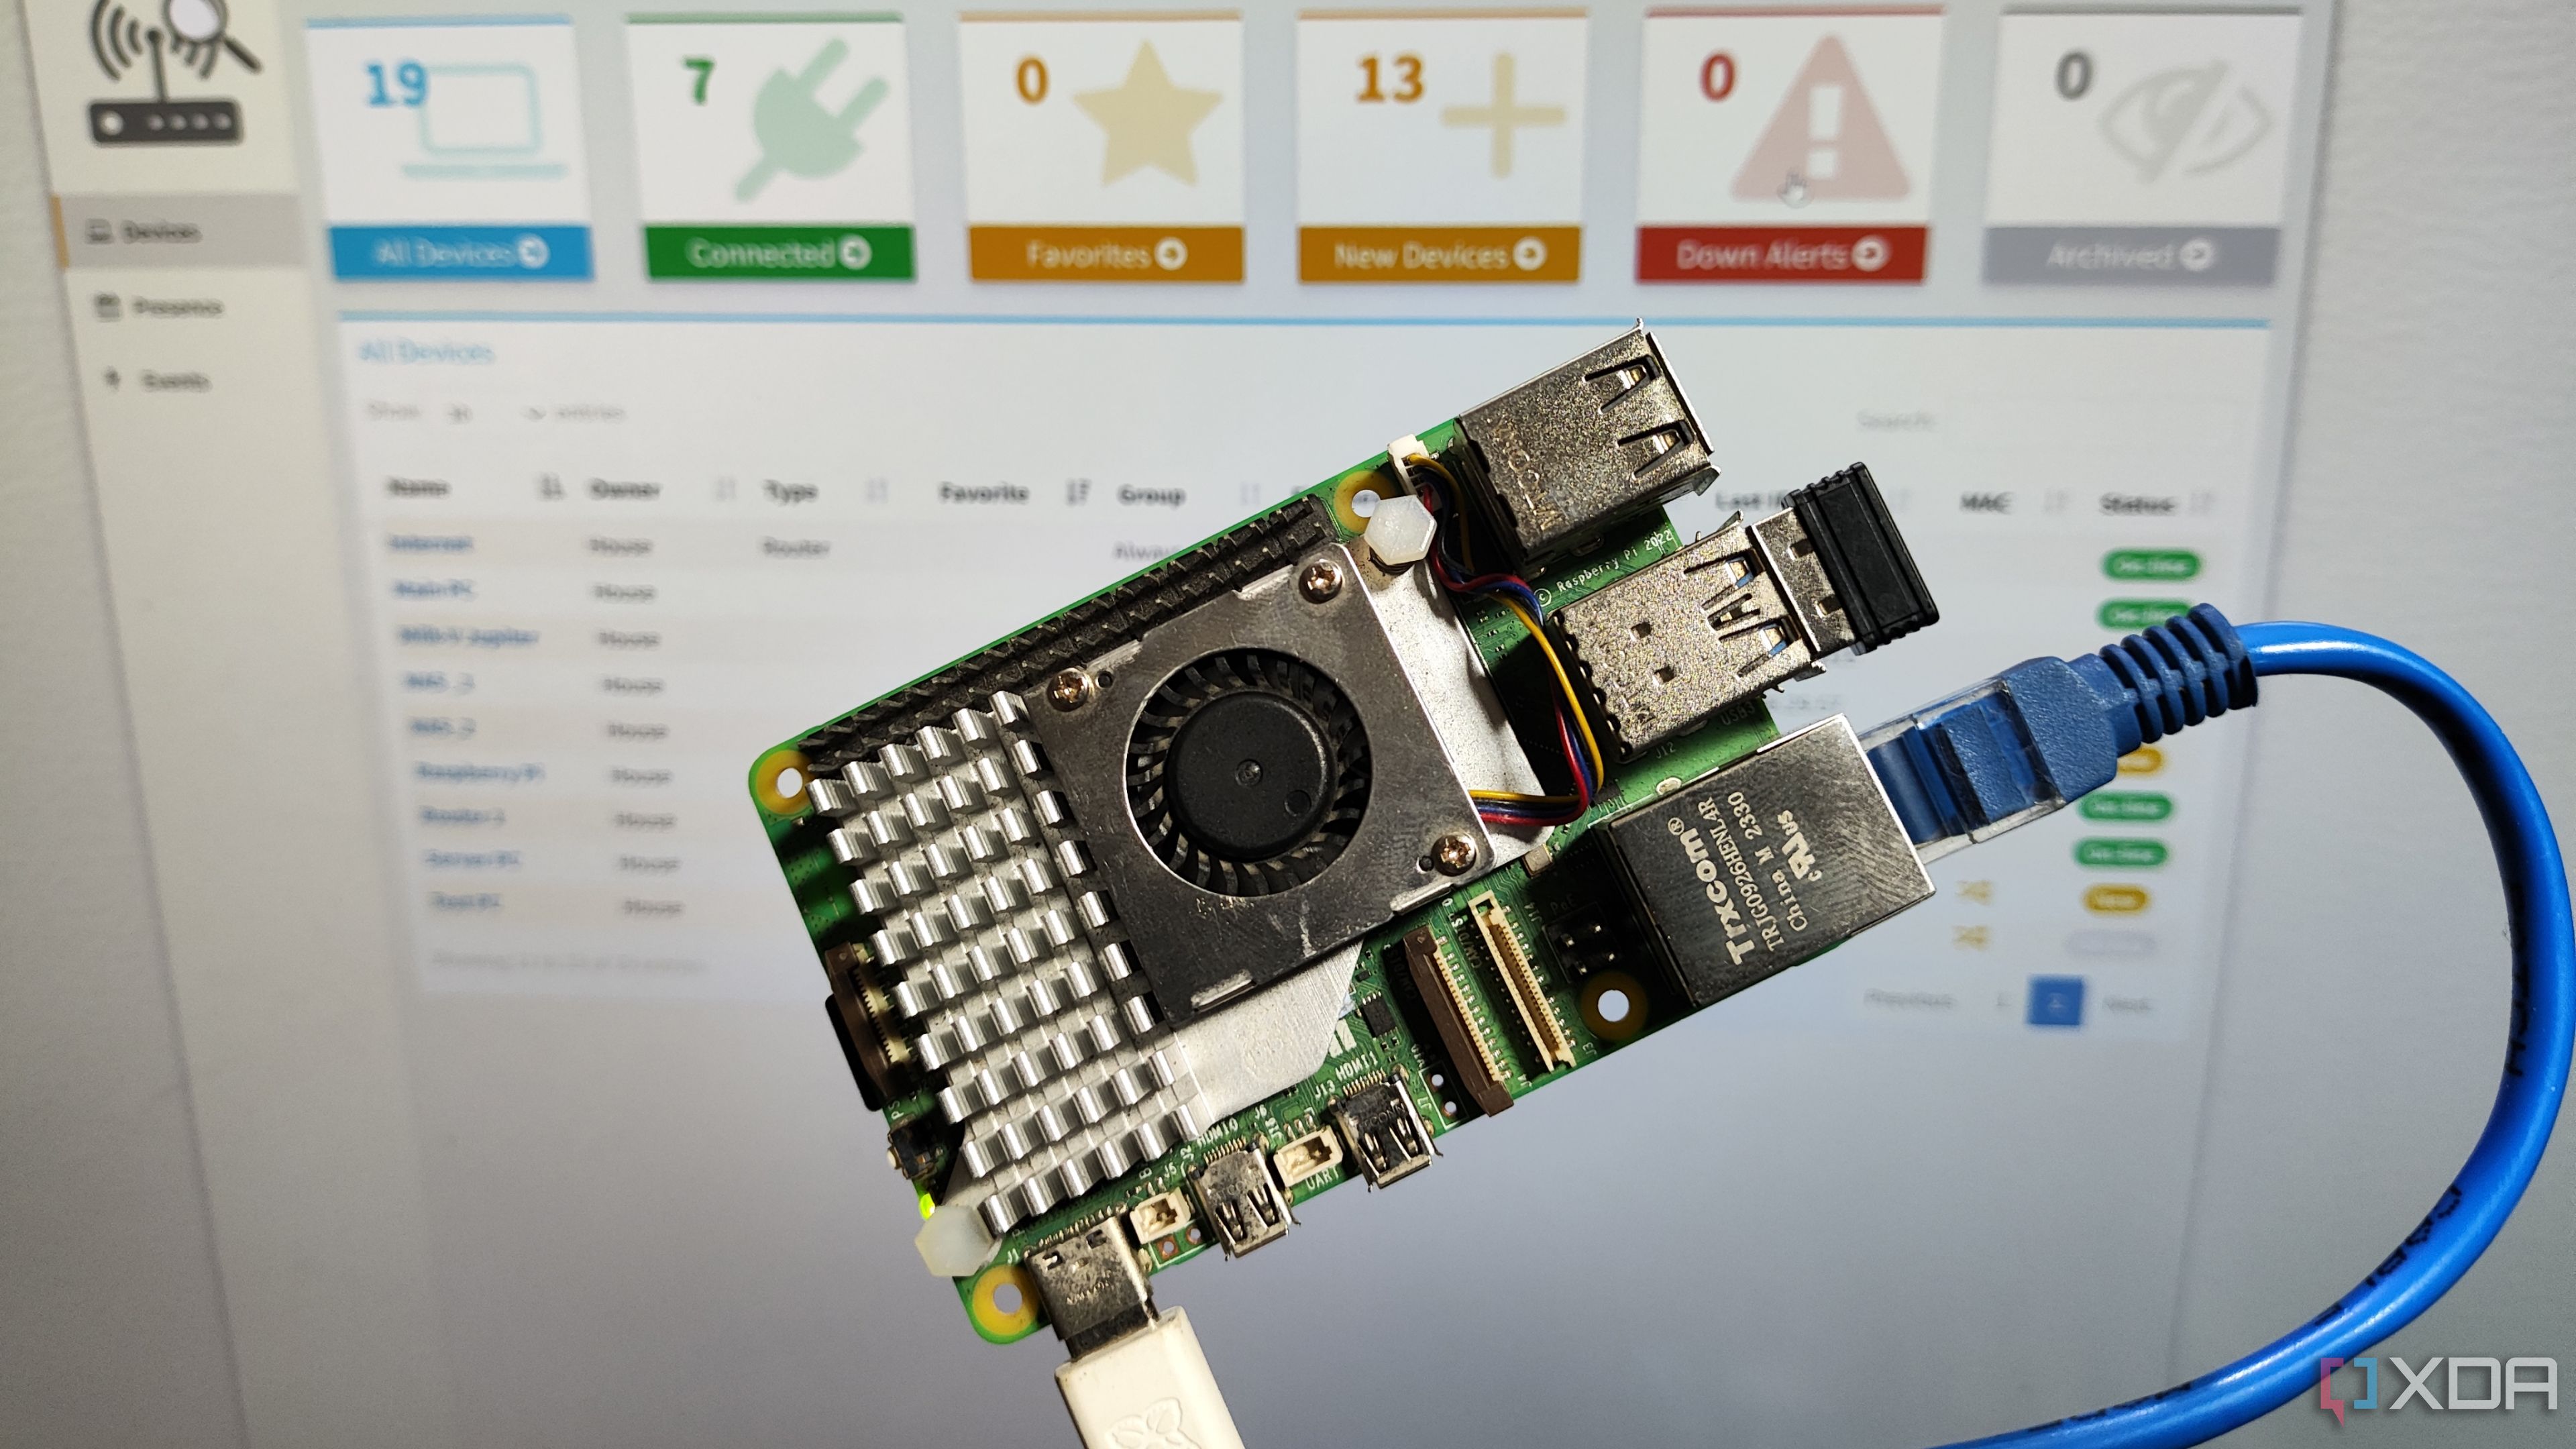
Setting up a remote IoT VPC network using a Raspberry Pi involves a structured process, encompassing everything from hardware selection to network configuration and robust security implementation. The initial stage is crucial: selecting the appropriate hardware. While various Raspberry Pi models can be used, the Raspberry Pi 4 is often recommended due to its processing power and Gigabit Ethernet port, both vital for network performance. Beyond the Pi itself, youll need an Ethernet cable for a stable network connection and a reliable power supply to ensure uninterrupted operation.
- Remote Iot Ssh Fix Search Secure Raspberry Pi Access
- Free Remote Raspberry Pi Access Windows Iot Guide 2024
Once you have your hardware assembled, the next step is to install and configure an operating system. Raspberry Pi OS is a popular and well-supported choice, offering a user-friendly interface and a wealth of available software packages. With the OS in place, youll need to configure the network settings, assigning a static IP address to your Raspberry Pi. This ensures that the Pi always has the same address on your network, simplifying access and management. Then comes the heart of your VPC: the VPN (Virtual Private Network) software. OpenVPN and WireGuard are both excellent options, providing secure, encrypted tunnels for your network traffic. Installing and configuring either of these VPN solutions will create a secure connection between your Raspberry Pi and other devices on your VPC.
Security is paramount when building any network, and your Raspberry Pi VPC is no exception. Implementing a firewall is critical to protect your network from unauthorized access. UFW (Uncomplicated Firewall) is a simple yet powerful firewall that comes pre-installed on many Linux distributions, including Raspberry Pi OS. Configuring UFW to only allow necessary traffic will significantly enhance your network's security posture. In addition to a firewall, consider implementing intrusion detection and prevention systems (IDS/IPS) to monitor your network for malicious activity. Snort and Suricata are two popular open-source IDS/IPS solutions that can be installed on your Raspberry Pi to provide an extra layer of security.
The ultimate goal of your Raspberry Pi VPC is to connect your IoT devices securely. Each device connected to the VPC should be configured to use the VPN tunnel, ensuring that all communication is encrypted and protected. Consider implementing network segmentation to isolate different types of devices on your network. For example, you might want to create a separate VLAN (Virtual LAN) for your security cameras to prevent them from accessing other sensitive devices on your network. Monitoring your network traffic is essential for identifying potential security threats and ensuring optimal performance. Tools like Wireshark and tcpdump can be used to capture and analyze network packets, providing valuable insights into your network's activity.
- Mydesi Desi Porn Uncensored Milf More Updated
- No Results Found Tips Spelling Amp Victoryaxos Inspiring Story
Regularly updating your Raspberry Pi's operating system and software is crucial for maintaining security and stability. Security vulnerabilities are constantly being discovered, and updates often include patches to address these vulnerabilities. Setting up automatic updates is a convenient way to ensure that your system is always running the latest security fixes. Creating regular backups of your Raspberry Pi's configuration and data is also essential for disaster recovery. In the event of a hardware failure or security breach, you can restore your system from a backup, minimizing downtime and data loss.
Let's dive deeper into the practical aspects of setting up a Raspberry Pi VPC. You'll need a Raspberry Pi (Model 3 B+ or later is recommended), a microSD card (at least 16GB), a power supply, and an Ethernet cable. You'll also need a computer to flash the operating system onto the microSD card. First, download the Raspberry Pi OS image from the official Raspberry Pi website and flash it onto the microSD card using a tool like balenaEtcher. Once the OS is installed, boot up your Raspberry Pi and connect it to your network via Ethernet.
Next, enable SSH (Secure Shell) to remotely access your Raspberry Pi from your computer. This can be done by creating an empty file named "ssh" in the boot partition of the microSD card. After enabling SSH, you can connect to your Raspberry Pi using a terminal emulator like PuTTY (on Windows) or the built-in terminal on macOS and Linux. The default username is "pi" and the default password is "raspberry". It's highly recommended to change the default password to something more secure immediately after logging in.
Now, let's install and configure a VPN server on your Raspberry Pi. OpenVPN is a popular choice, known for its security and flexibility. To install OpenVPN, run the following command in your terminal: `sudo apt-get update && sudo apt-get install openvpn easy-rsa`. Once OpenVPN is installed, you'll need to configure it to generate certificates and keys for your clients. This can be done using the easy-rsa scripts, which are included with the easy-rsa package. Follow the instructions in the OpenVPN documentation to generate the necessary certificates and keys.
After generating the certificates and keys, you'll need to configure the OpenVPN server. This involves creating a configuration file (e.g., server.conf) that specifies the network settings, encryption algorithms, and other parameters. The OpenVPN documentation provides detailed instructions on how to create and configure the server configuration file. Once the server configuration file is created, start the OpenVPN server by running the following command: `sudo systemctl start openvpn@server`. You can check the status of the OpenVPN server using the following command: `sudo systemctl status openvpn@server`.
To connect your IoT devices to the Raspberry Pi VPC, you'll need to install an OpenVPN client on each device. The OpenVPN client is available for a wide range of operating systems, including Windows, macOS, Linux, Android, and iOS. Follow the instructions in the OpenVPN documentation to install and configure the OpenVPN client on your devices. You'll need to copy the client certificate and key to each device and configure the client to connect to the OpenVPN server on your Raspberry Pi.
Once your IoT devices are connected to the Raspberry Pi VPC, you can start experimenting with different applications and services. For example, you can set up a home automation system that allows you to control your lights, appliances, and other devices from your smartphone or tablet. You can also set up a sensor network to monitor temperature, humidity, and other environmental conditions. The possibilities are endless, limited only by your imagination.
Consider the SSH remoteIoT tutorial, which serves as your ultimate guide to secure and efficient IoT connections. This tutorial offers a comprehensive walkthrough of setting up secure SSH tunnels, enabling you to remotely access and manage your IoT devices with confidence. By leveraging SSH, you can bypass the need for port forwarding and other complex network configurations, simplifying the process of connecting to your devices from anywhere in the world.
Before diving in, it's important to address the instances where searches for "Raspberry Pi VPC network tutorial" yielded no direct results. This often stems from the fact that building a VPC on a Raspberry Pi is a DIY endeavor, requiring a combination of networking knowledge and technical skills. However, the lack of a single, comprehensive tutorial shouldn't deter you. By breaking down the process into smaller, manageable steps and leveraging the wealth of online resources available, you can successfully build your own Raspberry Pi VPC.
Remember to check your spelling and query if you cant find results for 'Raspberry pi vpc network tutorial'. A small typo can throw off the search engine and prevent you from finding the information you need. If your initial search fails, try rephrasing your query or using different keywords. For example, you might try searching for "Raspberry Pi VPN server setup" or "Raspberry Pi network security".
Finally, as you embark on your Raspberry Pi VPC journey, keep in mind that security is paramount. Never expose your Raspberry Pi directly to the public internet without proper security measures in place. Always use strong passwords, keep your software up to date, and implement a firewall to protect your network from unauthorized access. With careful planning and execution, you can build a secure and reliable Raspberry Pi VPC that meets your specific needs.
Are you ready to dive into the world of IoT (Internet of Things) using Raspberry Pi and VPC (Virtual Private Cloud)? Enter raspberry pi vpc network tutorial.
Now, let's get real for a minute. Building a secure and efficient IoT ecosystem with a Raspberry Pi VPC isn't just about following instructions. It's about understanding the underlying principles of networking, security, and system administration. It's about experimenting, troubleshooting, and learning from your mistakes. It's about empowering yourself to take control of your data and your devices. So, roll up your sleeves, grab your Raspberry Pi, and get ready to embark on an exciting journey into the world of IoT and cloud computing.
- Vegamovies Streaming Find Movies Series Online Updated
- Unfound Results Desi Mms What Happened See Here

Securely Connect Remote IoT VPC Raspberry Pi AWS Server A
Smarter home networking with Raspberry Pi
Mastering Raspberry Pi VPC Network Setup A Comprehensive Tutorial
