RemoteIoT SSH Download: Mac & Raspberry Pi Tips + Tricks
Frustrated with the complexities of remote access? Mastering Remote IoT platform SSH downloads for Raspberry Pi without a Mac is no longer a niche skill, but an essential capability for anyone venturing into the world of connected devices and distributed computing. The surge in remote work and the ever-increasing accessibility of IoT devices have made this skill set indispensable.
The ability to remotely manage and control a Raspberry Pi opens up a world of possibilities, from home automation to sophisticated industrial applications. However, the initial hurdle often lies in setting up a secure and reliable SSH connection, especially when you're not using a Mac. This article will serve as your comprehensive guide, walking you through the process step-by-step, and providing the knowledge you need to confidently manage your Raspberry Pi remotely.
| Topic | Remote IoT Platform SSH Download for Raspberry Pi |
| Relevance | Increasingly relevant due to the rise of remote computing and IoT accessibility. |
| Operating System Focus | Primarily focuses on Raspberry Pi without the use of a Mac. |
| Key Benefit | Enables users to remotely manage and control Raspberry Pi devices. |
| Application Areas | Home automation, industrial applications, remote device management. |
| Core Skill | Setting up a secure and reliable SSH connection. |
| Resource Link | Raspberry Pi Remote Access Documentation |
Before diving into the specifics, it's crucial to understand the fundamental concepts. SSH, or Secure Shell, is a cryptographic network protocol that enables secure communication between two computers over an unsecured network. It's the backbone of remote administration, allowing you to execute commands, transfer files, and manage your Raspberry Pi from anywhere with an internet connection.
The beauty of SSH lies in its security. It encrypts all data transmitted between the client and the server, preventing eavesdropping and protecting your credentials from malicious actors. Without SSH, your Raspberry Pi would be vulnerable to a host of security threats.
Now, let's get our hands dirty. The first step is to ensure that SSH is enabled on your Raspberry Pi. By default, SSH is often disabled for security reasons. To enable it, you have two options: using the Raspberry Pi configuration tool or using the command line.
If you have a monitor and keyboard connected to your Raspberry Pi, the easiest way to enable SSH is through the Raspberry Pi configuration tool. Simply navigate to the Raspberry Pi menu, select "Preferences," and then "Raspberry Pi Configuration." In the "Interfaces" tab, you'll find an option to enable SSH. Click "Enable" and then "OK" to save the changes. A reboot may be required for the changes to take effect.
Alternatively, you can enable SSH using the command line. Open a terminal window on your Raspberry Pi and type the following command: `sudo raspi-config`. This will launch the Raspberry Pi configuration tool in text mode. Navigate to "Interface Options" and then select "SSH." Follow the prompts to enable SSH. Again, a reboot may be necessary.
With SSH enabled on your Raspberry Pi, the next step is to determine its IP address. The IP address is your Raspberry Pi's unique identifier on the network, and you'll need it to connect remotely. There are several ways to find the IP address, but the easiest is to use the command line. Open a terminal window on your Raspberry Pi and type the following command: `hostname -I`. This will display the IP address of your Raspberry Pi. Make a note of this address, as you'll need it later.
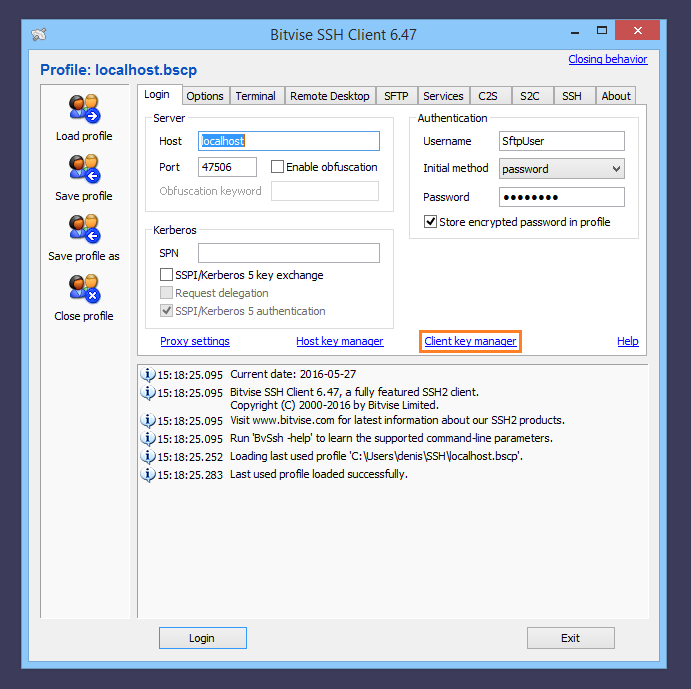
Now that you have the IP address of your Raspberry Pi, you can connect to it from another computer. On a Windows machine, you'll need an SSH client. A popular and free SSH client is PuTTY. Download PuTTY from its official website and install it on your computer.
Once PuTTY is installed, launch the application. In the "Host Name (or IP address)" field, enter the IP address of your Raspberry Pi. Ensure that the "Port" field is set to 22, which is the default port for SSH. Select "SSH" as the connection type and click "Open."
The first time you connect to your Raspberry Pi, PuTTY will display a security alert, warning you that the server's host key is not cached in the registry. This is normal. Click "Yes" to trust the connection and add the host key to the registry.
PuTTY will then prompt you for your username and password. The default username for a Raspberry Pi is "pi," and the default password is "raspberry." Enter these credentials and press Enter. Note that the password will not be displayed as you type it. This is a security feature.
If you entered the correct credentials, you'll be logged in to your Raspberry Pi and presented with a command prompt. You can now execute commands, transfer files, and manage your Raspberry Pi remotely. Congratulations!
While the above steps will get you up and running with SSH, it's crucial to implement some security best practices to protect your Raspberry Pi from unauthorized access. The default username and password are well-known, making your Raspberry Pi vulnerable to brute-force attacks. The first step is to change the default password.
To change the default password, open a terminal window on your Raspberry Pi (either directly or through SSH) and type the following command: `passwd`. This will prompt you to enter your current password (the default "raspberry") and then your new password. Choose a strong password that is difficult to guess. A strong password should be at least 12 characters long and include a mix of uppercase and lowercase letters, numbers, and symbols.
Another important security measure is to disable password authentication altogether and use SSH keys instead. SSH keys are a more secure alternative to passwords, as they rely on cryptographic key pairs to authenticate users. To set up SSH keys, you'll need to generate a key pair on your client machine and then copy the public key to your Raspberry Pi.
On a Windows machine, you can use PuTTYgen to generate an SSH key pair. PuTTYgen is a key generator that comes bundled with PuTTY. Launch PuTTYgen and click "Generate." Move your mouse around randomly to generate entropy for the key. Once the key is generated, save the private key to a secure location on your computer. The private key is like your password, so keep it safe and never share it with anyone.
Next, copy the public key to your Raspberry Pi. The public key is displayed in the PuTTYgen window. Copy the entire key to your clipboard. Then, connect to your Raspberry Pi using SSH and open the `authorized_keys` file in your home directory. If the file doesn't exist, create it. Use the following command: `nano ~/.ssh/authorized_keys`.
Paste the public key into the `authorized_keys` file and save the changes. Make sure there are no extra spaces or line breaks in the key. Then, close the file. The next time you connect to your Raspberry Pi using SSH, you'll be prompted for your passphrase (if you set one when generating the key) instead of your password.
For added security, you can disable password authentication altogether. To do this, edit the SSH configuration file on your Raspberry Pi. Open the file using the following command: `sudo nano /etc/ssh/sshd_config`. Find the line that says `PasswordAuthentication yes` and change it to `PasswordAuthentication no`. Save the changes and close the file. Then, restart the SSH service using the following command: `sudo systemctl restart ssh`.
Now, password authentication is disabled, and you can only connect to your Raspberry Pi using SSH keys. This significantly reduces the risk of unauthorized access.
In addition to changing the default password and using SSH keys, there are several other security measures you can take to protect your Raspberry Pi. These include:
- Keeping your Raspberry Pi's software up to date. Regular updates include security patches that fix vulnerabilities.
- Using a firewall to restrict access to your Raspberry Pi. A firewall is a software or hardware device that blocks unauthorized network traffic.
- Disabling unnecessary services. The fewer services running on your Raspberry Pi, the smaller the attack surface.
- Monitoring your Raspberry Pi's logs for suspicious activity. Logs can provide valuable insights into potential security breaches.
By implementing these security measures, you can significantly reduce the risk of unauthorized access to your Raspberry Pi and protect your data.
Mastering remote IoT platform SSH downloads for Raspberry Pi without a Mac is a valuable skill that opens up a world of possibilities. By following the steps outlined in this article and implementing the recommended security measures, you can confidently manage your Raspberry Pi remotely and unlock its full potential.
Now, lets talk about Teach me first honeytoons free your ultimate guide to unlocking fun without limits. It appears to be a completely unrelated phrase that has somehow been included in this text. Theres no clear connection to the topic of remote access or Raspberry Pi devices. It may be a search query or unrelated text that got mixed in. We will not delve into this topic, as it is outside the scope of the present subject.
Before we dive into the nitty-gritty details, its worth reiterating the importance of understanding the underlying technology. SSH is not just a tool; its a protocol built on strong cryptographic principles. Understanding these principles will help you troubleshoot issues and make informed decisions about your security configuration.
Remote IoT platform SSH download for Raspberry Pi without Mac has become increasingly relevant as remote computing becomes more accessible to users around the world. This statement is not just a claim; it's a reflection of a broader trend. The world is becoming increasingly interconnected, and the demand for remote access solutions is only going to grow. The ability to remotely manage and control IoT devices is becoming a critical skill for individuals and organizations alike. Whether youre a hobbyist experimenting with home automation or a professional managing a fleet of industrial sensors, mastering SSH is essential.

Download Remote IoT Platform SSH For Free On Mac The Ultimate Guide
Mastering RemoteIoT Platform SSH For Mac Your Ultimate Guide
Mastering Secure IoT Device Management With RemoteIoT Platform SSH For Mac
